How's it going people? In my neck of the woods, we are enthralled in moving preparation. Saturday will be here very quick! But I still wanted to take the time to share how the NIVEA Indulgence Challenge is going.
Monday was the final day of the challenge, I'm sad to see it go. But on the upside, I still have some of the product left! Hooray for large bottles!!! Let me tell you, this challenge was just what the doctor ordered at the end of each day to help wash away all the stress of moving.
I have fallen head over heels for both the NIVEA Touch of Smoothness and Touch of Renewal.

They will both remain a staple during my shower time. My skin is ultra smooth, my niece actually asked me yesterday if I shaved my arms... that's how smooth they are! Oh and for the record, no I do not shave my arms. (TMI ALERT) Here's something I did notice, which led me to purchasing a loofah, if you use the body scrub with a washcloth some of the scrubbing beads remain even after you rinse it off. So when it was time to use the body wash on my more... uh, delicate areas... I didn't want to chance getting any scrubbing beads in my what-nots. Ya know what I mean? Anywho, I'm love with NIVEA and can't wait to try some of the other products in the line, because guess what ladies and gent, there are more!
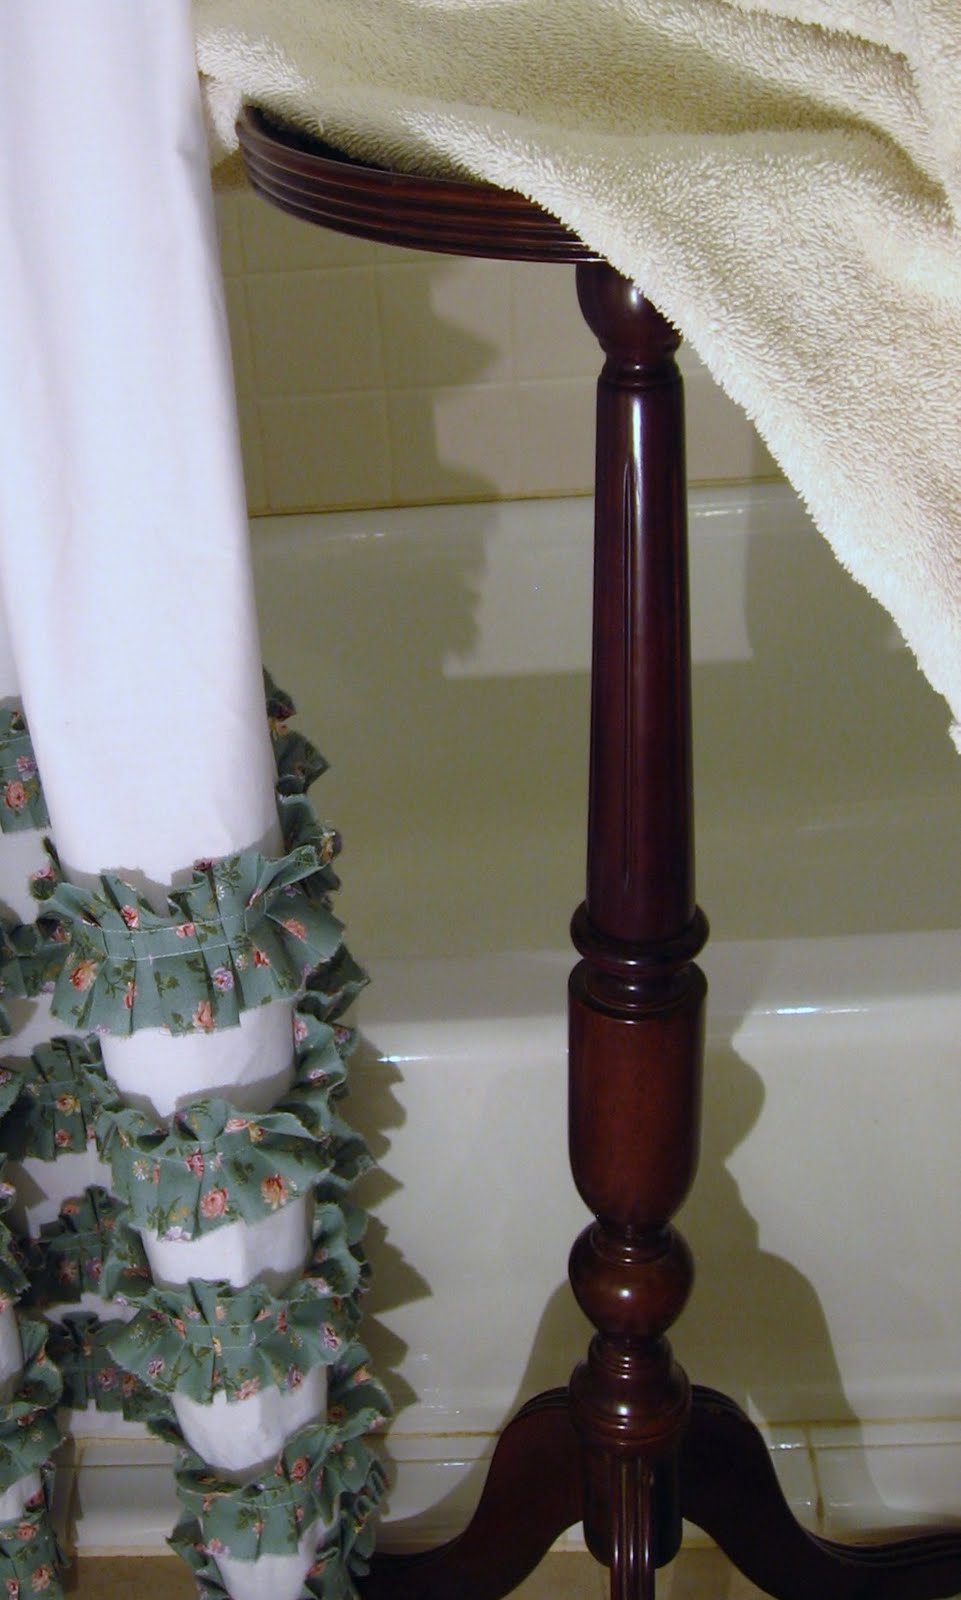
Also, in my last post, I mentioned that NIVEA gave me $50 gift card to Bed, Bath & Beyond to help turn our bathroom into an oasis conducive to relaxation. I spent all the $$$ on two sets of thick towels, a plush bathmat and a loofah. Really, how can you have an indulgent shower without each of these items. I also brought in a few items from other areas in the house to complete the relaxing oasis.
Before it had the three major b's going on... beige, brown and boring.


Side by side before and after...


Now it's your turn to win a chance to participate in the NIVEA Indulgence Challenge. NIVEA will give one of my readers the opportunity to try out these indulgent products for yourself. You will get the chance to review the products for two weeks like I did and share your results. All you have to do is share this post on one or all of your social media outlets and leave me a comment with a link to what you shared. I will select a winner on Wednesday, July 3, 2013. Trust me you do not want to miss out on this one!
Let the games begin!
**** GIVEAWAY IS NOW CLOSED ****

Monday was the final day of the challenge, I'm sad to see it go. But on the upside, I still have some of the product left! Hooray for large bottles!!! Let me tell you, this challenge was just what the doctor ordered at the end of each day to help wash away all the stress of moving.
I have fallen head over heels for both the NIVEA Touch of Smoothness and Touch of Renewal.

They will both remain a staple during my shower time. My skin is ultra smooth, my niece actually asked me yesterday if I shaved my arms... that's how smooth they are! Oh and for the record, no I do not shave my arms. (TMI ALERT) Here's something I did notice, which led me to purchasing a loofah, if you use the body scrub with a washcloth some of the scrubbing beads remain even after you rinse it off. So when it was time to use the body wash on my more... uh, delicate areas... I didn't want to chance getting any scrubbing beads in my what-nots. Ya know what I mean? Anywho, I'm love with NIVEA and can't wait to try some of the other products in the line, because guess what ladies and gent, there are more!
Also, in my last post, I mentioned that NIVEA gave me $50 gift card to Bed, Bath & Beyond to help turn our bathroom into an oasis conducive to relaxation. I spent all the $$$ on two sets of thick towels, a plush bathmat and a loofah. Really, how can you have an indulgent shower without each of these items. I also brought in a few items from other areas in the house to complete the relaxing oasis.
Before it had the three major b's going on... beige, brown and boring.

After adding a few spots of colors and some luxurious towels, I'm ready to indulge myself. (Keep in mind I didn't go crazy, I knew I would be moving in a few weeks.)


This quote is so true. Wouldn't you agree?

Side by side before and after...
Let the games begin!
**** GIVEAWAY IS NOW CLOSED ****