For the past week or so I've been reading tons of post talking about the summer being officially over and a lot of you out there are enjoying cooler weather. Must be nice to be wherever you are because here in CA its been nothing but hot, hot, hot. Over the extended weekend we had temperatures reaching 99 degrees or so everyday. Certainly no sign of fall anywhere on the horizon for those in my neck of the woods.
Given the hot temperatures, we sat around, played games and enjoyed shade under the huge maple tree in front yard. There was golf...
There was dominoes. Isn't it cute to see my niece getting a lesson from her dad, brother, and uncle (Mr. Uncluttered on the right.) while snacking on a sandwich of course. Oh and just to give you a hint of how big the maple tree is. The golf net was in the front yard under the tree, the domino table was in the side yard still benefiting from the same shade!
Now on to the project. Its by far not a fall decorating project. I can't even begin to think about decorating for fall when I'm running the AC all day long. (OK, no more complaining)
I couldn't let the weekend go by without finding time for a quick project. Nothing major, just something I'd been rolling around in the ole noggin. Remember this Del Monte crate I was given back in July. I've been wanting to use it in the house but it was just too... gray and weather beaten for me.
So I sanded her down and gave her wash in a creamy white paint I cut by half with water. Then another quick sanding. Now she's in the house on top of the frig.
Now I have a question for you. Any suggestion for what to display in her? I'm drawing a big, fat blank possibly due to all to heat... could it be heat exhaustion from the weekend. (I know, I know I'm complaining again.) I tried a crock with the plant, but I'm not really feeling it. Maybe its the plant.
Anywho, suggestions please.
Thanks for visiting... till next time.
I'm linking this to:
Twice Owned Tuesday - House of Grace
One Project At A Time - Bowl Full of Lemons
What Wrong With This Clock?
Have you ever bought something and lived with it for... oh I don't know... eight years and not realize something was wrong with it until someone who doesn't live in your points it out? (Please tell me I'm not alone in my non-observantness.)
Well, that's exactly what happened to me this evening. Mr. Uncluttered and a family friend had just finished watching a movie and I hear, "Honey, come here a sec." As I walk into the room, Mr. Uncluttered asks, "What wrong with your clock?" (BTW, my walls are not this mustard.)
Can you spot anything wrong with the clock? No, the batteries had not died. After a few seconds I had seen something I had not seen in eight years of looking at the clock every single day, several times a day.
Have you figured it out? Let's take a closer look, shall we?
It's the number four or IV as it should be rendered according to the elementary school that I went to. I promptly said, "Well, went I come home with a new clock you won't have to wonder why, will you?"
Do you have a clock in your home that has the roman numeral four as IIII instead of IV? Before you go look, I tell you right now odds are, you do.
Thanks for visiting... till next time.
Well, that's exactly what happened to me this evening. Mr. Uncluttered and a family friend had just finished watching a movie and I hear, "Honey, come here a sec." As I walk into the room, Mr. Uncluttered asks, "What wrong with your clock?" (BTW, my walls are not this mustard.)
Can you spot anything wrong with the clock? No, the batteries had not died. After a few seconds I had seen something I had not seen in eight years of looking at the clock every single day, several times a day.
Have you figured it out? Let's take a closer look, shall we?
It's the number four or IV as it should be rendered according to the elementary school that I went to. I promptly said, "Well, went I come home with a new clock you won't have to wonder why, will you?"
Do you have a clock in your home that has the roman numeral four as IIII instead of IV? Before you go look, I tell you right now odds are, you do.
Thanks for visiting... till next time.
New Series... Unclutter It Thursday
I'm excited about the new series I'm starting here at Uncluttered Lifestyle... its called Unclutter It Thursday. In the series I'll be sharing with you some of the organizing projects I'm working on the around the house. Who knows maybe one day I'll turn it into a linky party. But for now it's just me and you kid.
The first page is the weekly menu plan.
Then there's a Mead folder and as I get store ads I put them in the folder until its time to make the menu.
First up is grocery shopping. Let me tall ya, I haaaaate grocery shopping with a passion. I'm talking open the refrigerator and hear an echo... haaaaate grocery shopping. My hatred to grocery shopping is probably due to a few factors... 1. Cost of freaking food but then again I do live in California. 2. Living in a town with no major grocery store, which means I have to drive a minimum of 10 miles to the next town or to save some green I'm in the car for no less than 30 minutes. 3. Cost of freaking food... did I mention that already. :)
You may be wondering why in the world would I drive 30 minutes when I have a grocery store 10 miles away. Well, driving 30 minutes gets me Target, Walmart, Petco, Dollar Tree, Save Mart and much more. So the 30 minutes are worth it if I plan for it. Yet, another reason to organize grocery shopping. Don't want to get all the way home just to realize I forgot dog food.
So anywho, I got down to business and organized my grocery shopping experience. Like so many other project, it all started with a binder. Its just a plain white binder with scrapbook paper as a cover.
The first page is the weekly menu plan.
Then there's a Mead folder and as I get store ads I put them in the folder until its time to make the menu.
Then I have the grocery list. Its separated by categories (helps reduce time spent in the store). And forgive the coloring. Looks like I'm running out of ink... better add that to the list.
And finally I alphabetized all the club cards in plastic business card holder pages. Can you believe I used to carry these all in my wallet!?! Now I just pull them out as I need them. This is by far one of my favorite features.
Now its time to start planning. During the week I compile a list of needs on a clipboard I keep in the pantry. So lets grab that.
Next I go through the three store ads I get and first look for the items on the list. Next I look for the meats on sale and based on the meats I create a menu. Each store is separated by an empty line.
The now created menu
This list is then transferred to the categorized shopping list with items from the notoriously cheaper store listed first, since its quite possible that all the items may be cheaper there... at least a girl can hope.
The list and ads go in the folder. The nice thing about this folder is pocket for my coupons and club cards.
Now all I have to do is grab my "green" shopping bags (save 5 cents a bag), add the folder to bunch and we're ready to go.
How do you prepare to grocery shop?
Thanks for visiting, till next time.
I'm linking this to:
Delightfully Inspiring Thursday - Delightful Order
Newbie Party - Debbiedoo's Blogging & Blabbing
I'm linking this to:
Delightfully Inspiring Thursday - Delightful Order
Newbie Party - Debbiedoo's Blogging & Blabbing
Tiny Bathroom To Do... Done!
Yes, I know that I have been MIA for awhile... but I've been busy getting ready for our visitors this weekend. Remember my bathroom to do list...
Bathroom
1. Strip and repaint built-in cabinet
2. Organize drawers in built-in
3. Recaulk toilet and tub
4. Sew new shower curtain
5. Replace wall cabinet w/shelving
6. Accessorize with new towels and rug
This is what it looks like now...
Bathroom
1. Strip and repaint built-in cabinet - Done!
2. Organize drawers in built-in - Done!
3. Recaulk toilet and tub - Done!
4. Sew new shower curtain - Done!
5. Replace wall cabinet w/shelving - Done!
6. Accessorize with new towels and rug - Done!
I'm so excited to have this room done! Whooo hooo!
Here is the before...


Thanks for visiting... till next time.
Bathroom
1. Strip and repaint built-in cabinet
2. Organize drawers in built-in
3. Recaulk toilet and tub
4. Sew new shower curtain
5. Replace wall cabinet w/shelving
6. Accessorize with new towels and rug
Bathroom
Here is the before...
Now we have this.
Thanks for visiting... till next time.
I'm linking this to:
POP - Domestically Speaking
WUW - Savvy Southern Style
White Wednesday - Faded Charm Cottage
Home Decor & Organizing Party - Organize and Decorate Everything
DIY Ruffled Shower Curtain
A few posts ago I detailed a to-do list for our tiny bathroom.
Bathrooom
1. Strip and repaint built-in cabinet
2. Organize drawers in built-in
3. Recaulk toilet and tub
4. Sew new shower curtain - Done!
5. Replace wall cabinet w/shelving
6. Accessorize with new towels and rug
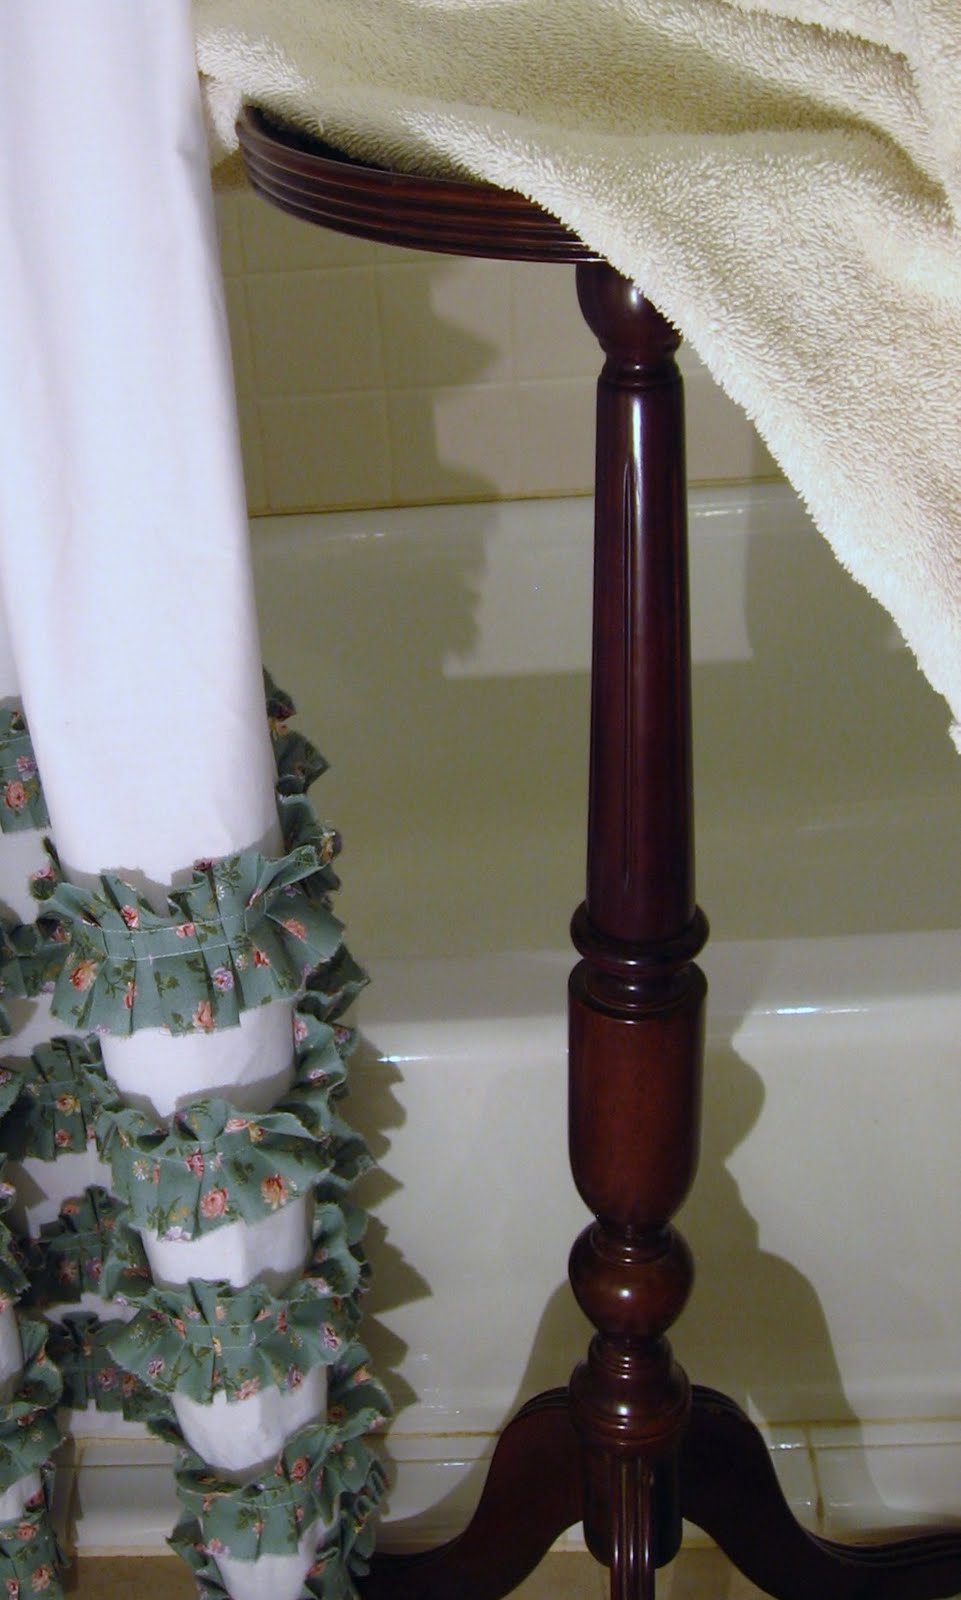
This weekend I tackled the new shower curtain. It was sooooo time consuming, but completely worth it. There was nothing wrong with the previous curtain. It's just, I've been coveting ruffled shower curtains. What I haven't been coveting is their price tag. The lowest price I found was $27 plus $9 shipping and it was all white.
I chose a queen size because I wanted the curtain to be longer than the standard 72" and to frame the shower when not in use.
Not going to do a step-by-step for the ruffles, there are tons of those all over blogland. Mine are slightly more pleated which I love. And I will tell you I tried both ruffling as I sew and pinning before I sew. After using the seam ripper on an entire row of ruffles because the spacing was off, I stuck to pinning before sewing!
I used 3 inch strips of fabric on the bottom rows.
I used 2 inch strips of fabric on the top rows.
I love that it opens in the middle to frame the shower during the day and let in light - even if the window is only 10 inches wide.
More pictures to come as I mark more items off the list.
Thanks for visiting, till next time.
Wow Us Wednesday - Savvy Southern Style
Sizzle Into Summer - DIY by Design
Transformation Thursday - Shabby Creek Cottage
Bathrooom
1. Strip and repaint built-in cabinet
2. Organize drawers in built-in
3. Recaulk toilet and tub
5. Replace wall cabinet w/shelving
6. Accessorize with new towels and rug
My DIY shower curtain was $14. It started with a Queen Flat Sheet from Wal-Mart in white and fabric scraps.
The Before:
The After:
Thanks for visiting, till next time.
I'm linking this to:
Tutorials & Tips Party - Home Stories A 2 Z
One Project At A Time - A Bowl Full of Lemons Wow Us Wednesday - Savvy Southern Style
Sizzle Into Summer - DIY by Design
Transformation Thursday - Shabby Creek Cottage
Subscribe to:
Posts (Atom)